KNOWLEDGE IS POWER, BUT IT DOESN'T MAKE MY BLOW DRYER RUN!

Wednesday, April 6, 2022

April Showers Kind of Day


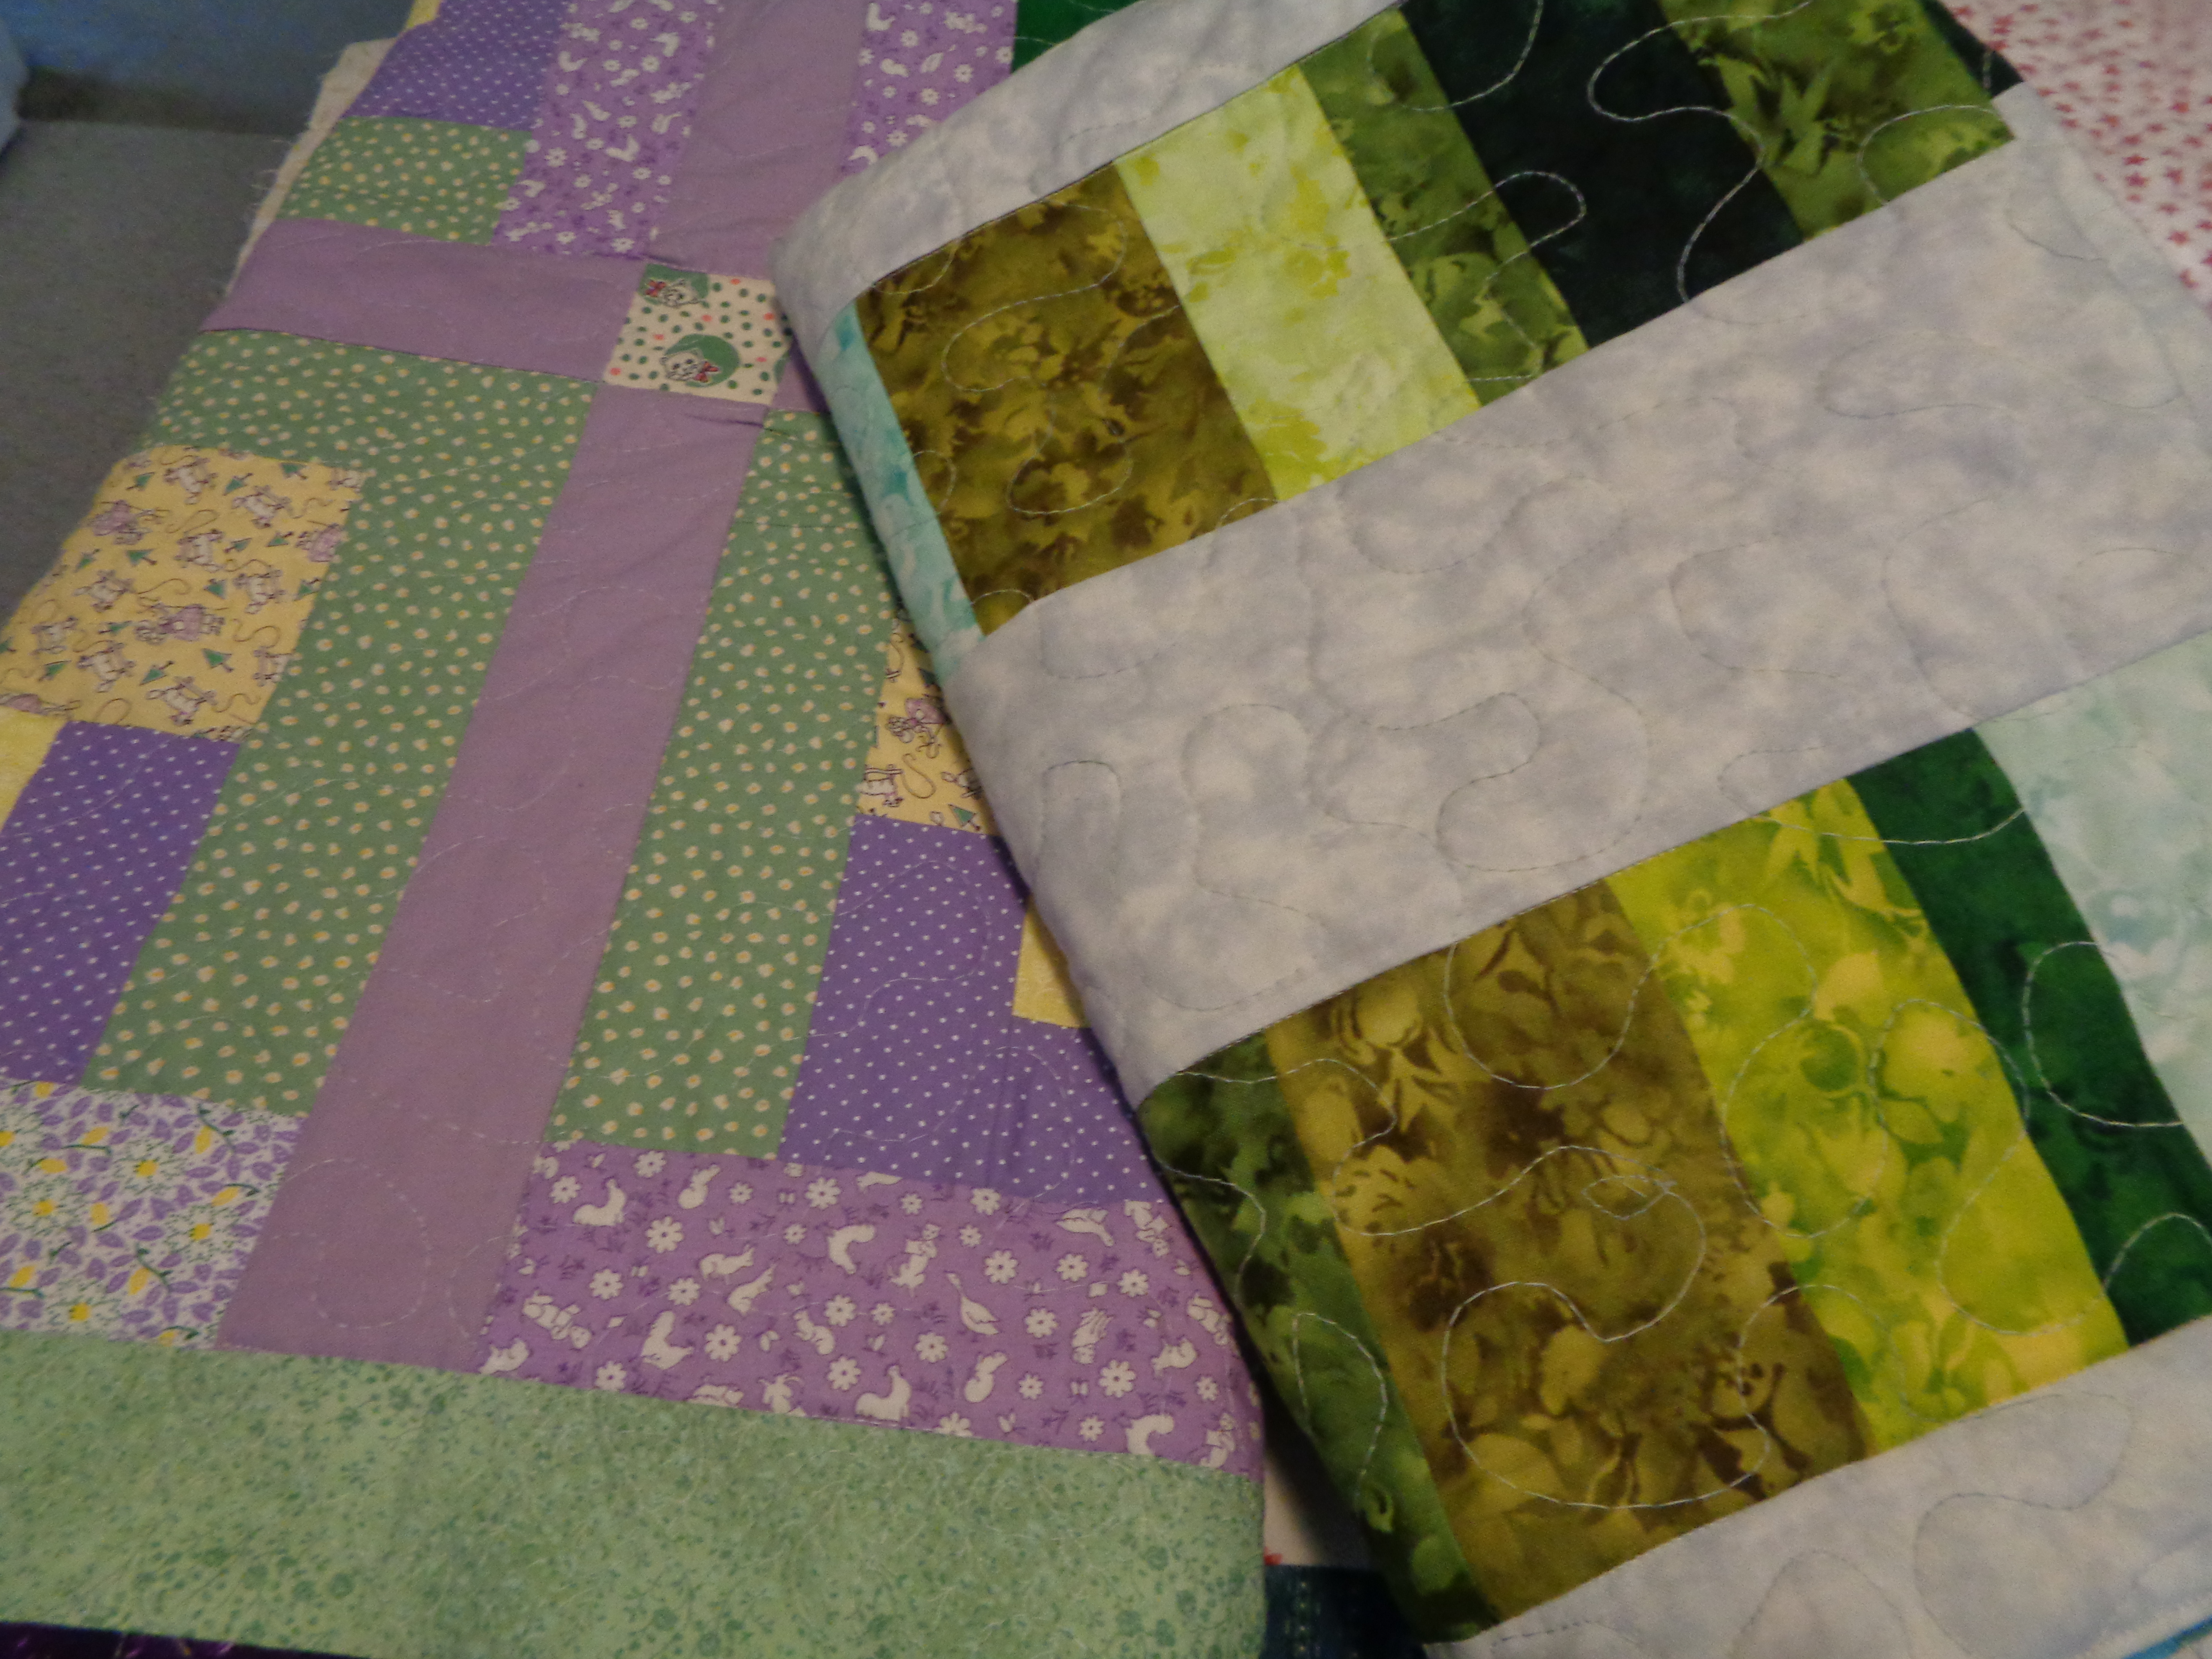
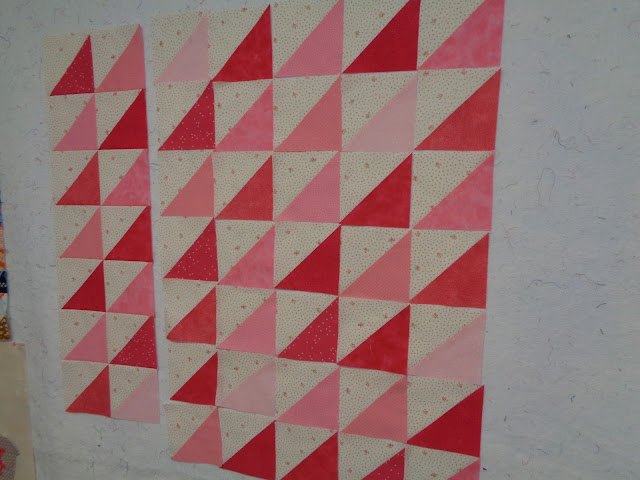
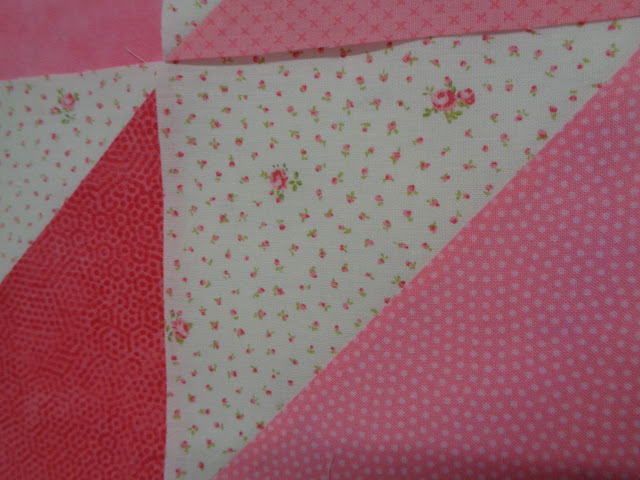
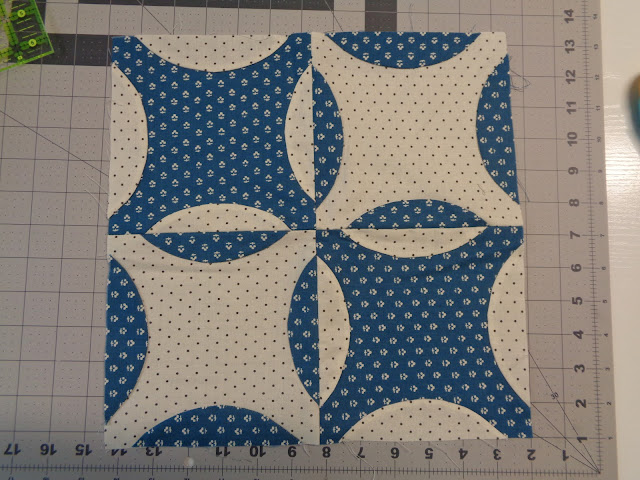
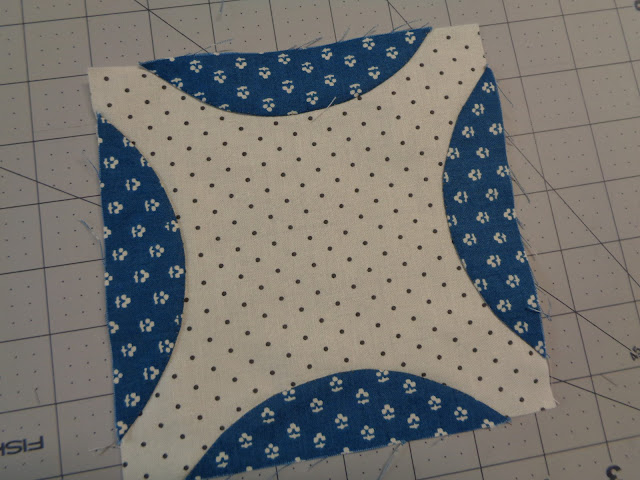
I've been away a long time and don't have much to show for it. I finally got the rows of this quilt sewn together but have to get it finished. For goodness sakes its 95% done! I will not be quilting it, my friends Carolyn and Jamie will be asked to perform the magic. The patterns are by Lori Holt from Bee In My Bonnet and it was a sew along last summer. I love the blocks but was tired of them once they were done. Now I am excited to have it be a quilt.


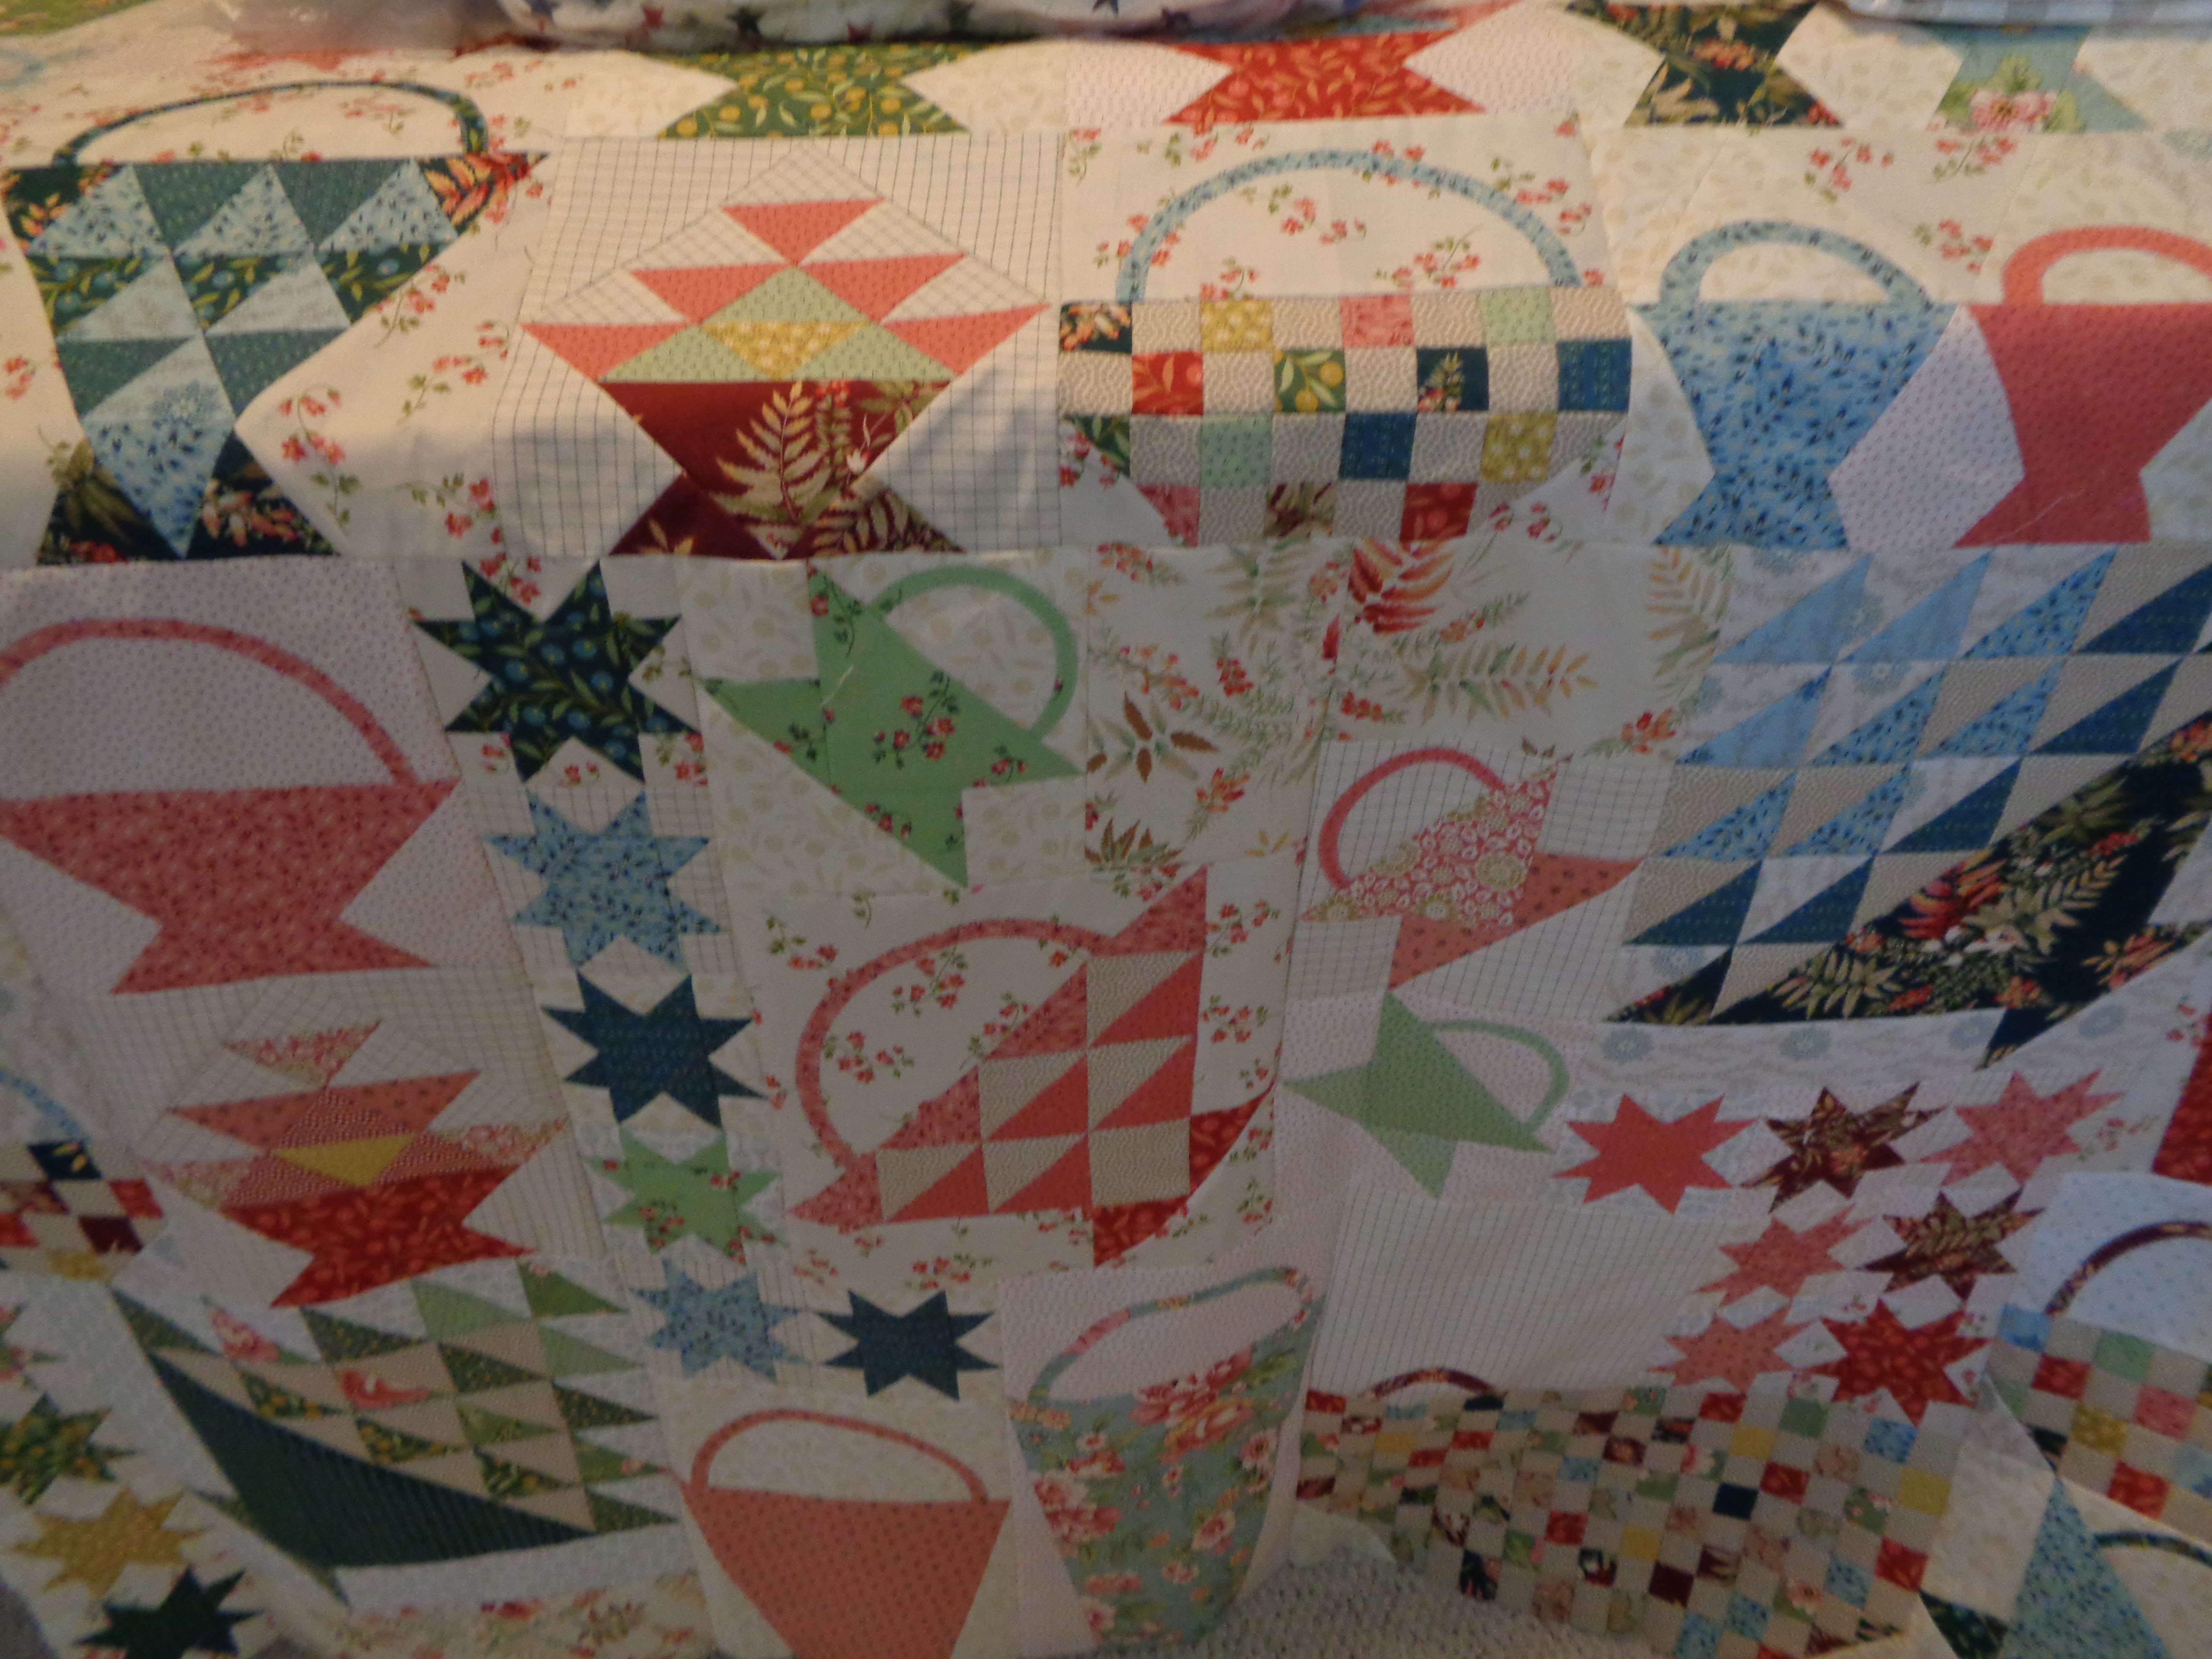
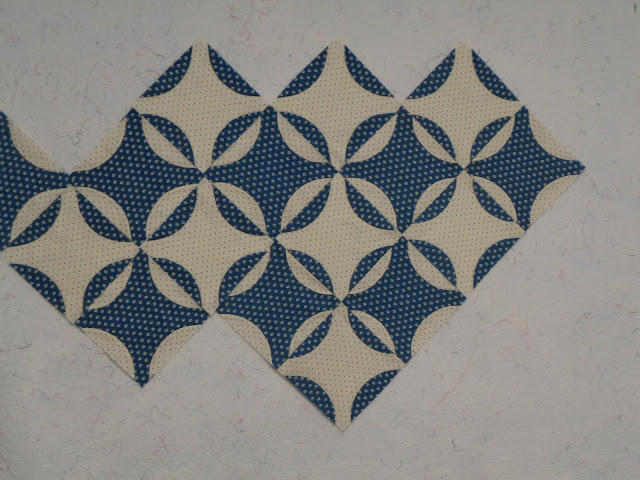
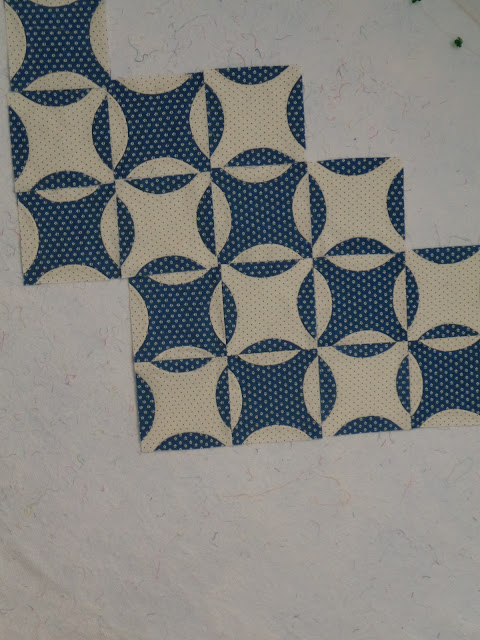
I also kept up and finished my block of the month, Anna's Baskets by Laundry Basket Quilts. I need to get my back ready to have this one quilted too. I'll show you a better picture when it is completely done!

So I feel like I have fallen off the sewing path......I made this adorable project bag.....


that has this cute little zipper pull charm.......

to hold my cross stitch!


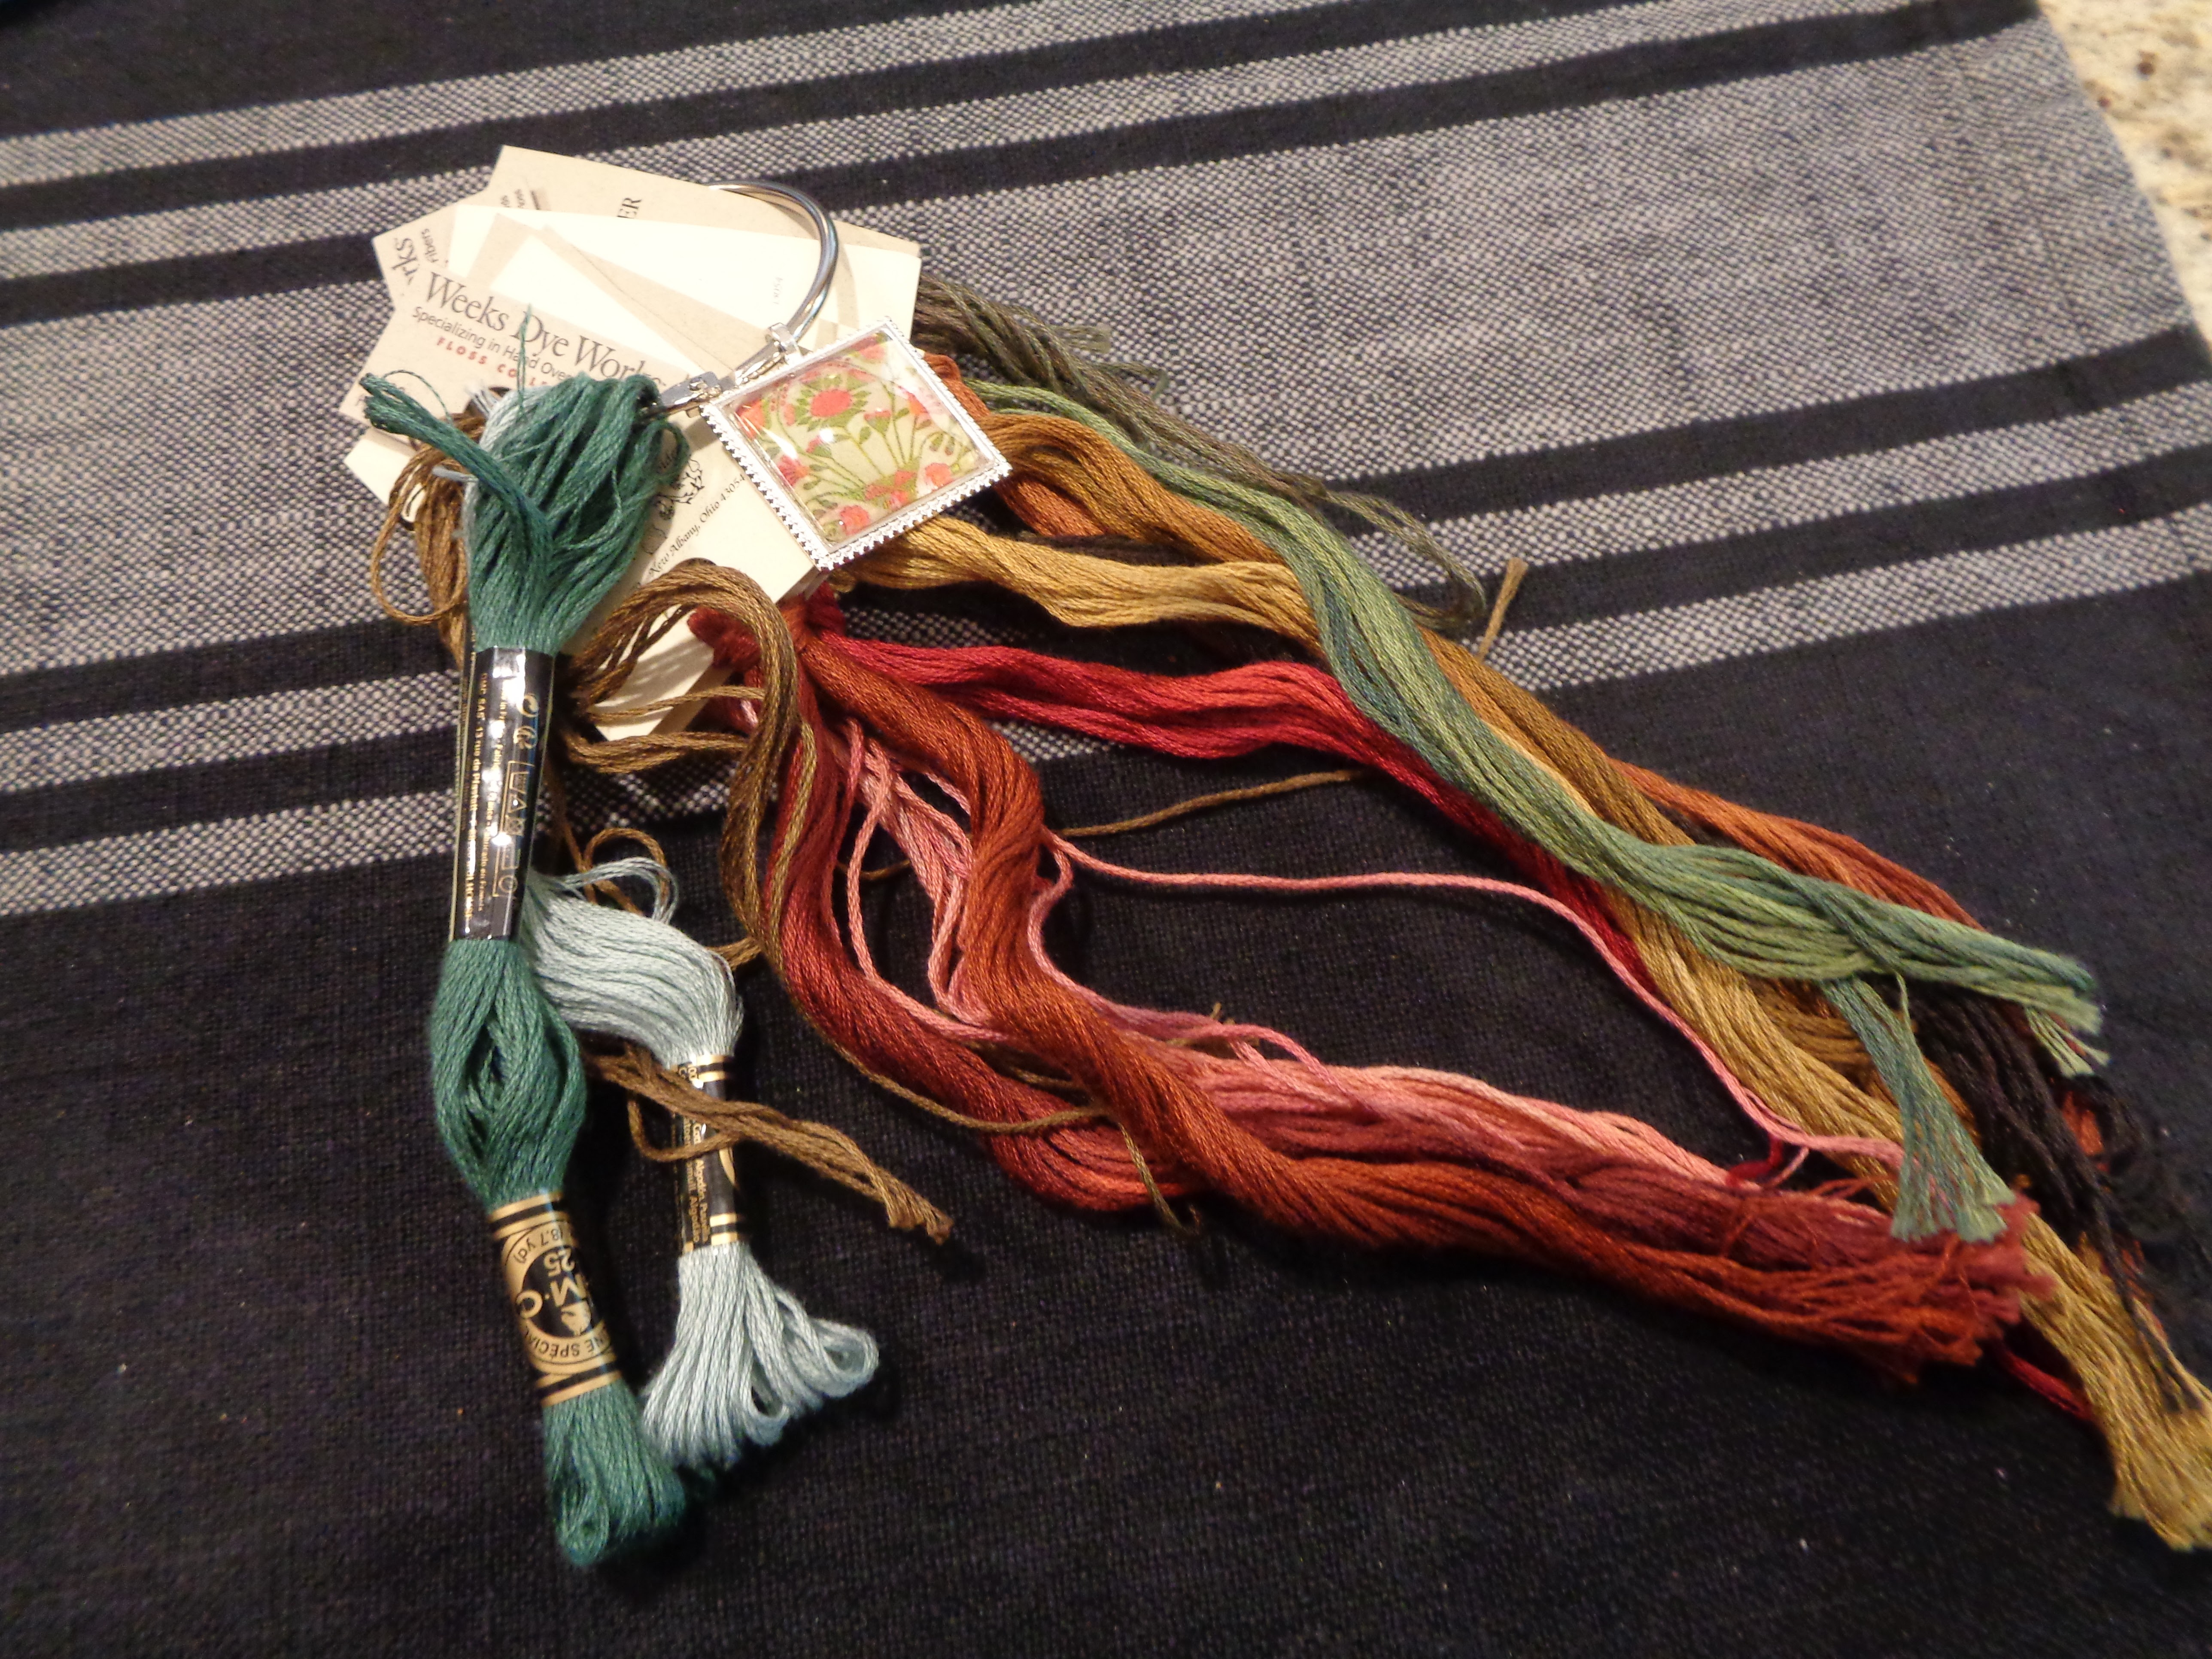
Yes I have wandered back into cross stitch. I did it back in the 1970's and gave it up for quilting. When we were all stuck in the house for what felt like forever, I started watching YouTube videos while I sewed. A lot of people cross over into all different parts of needlework. It is amazing how much different the flosses and the linens are compared to when I was doing it in the '70s. They are gorgeous and hard to resist. I want you to know I held back for a long time!


So I needed some accessories for my new venture!


Like sewing, we use different size needles and need to keep track. These are labeled #24 as you can see in the bottom left corner. I could have written it in pen but why when you can embroider it?


This is a catch all that houses my scissors, needle minder and I use it to keep track of floss that I am using for easy access.


A handy little pocket....


Needle minder and floss.....


 A spot for my scissors.


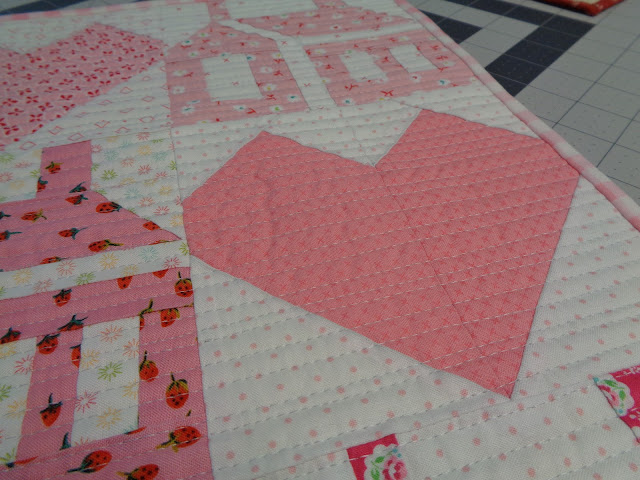
I have done some charity sewing......

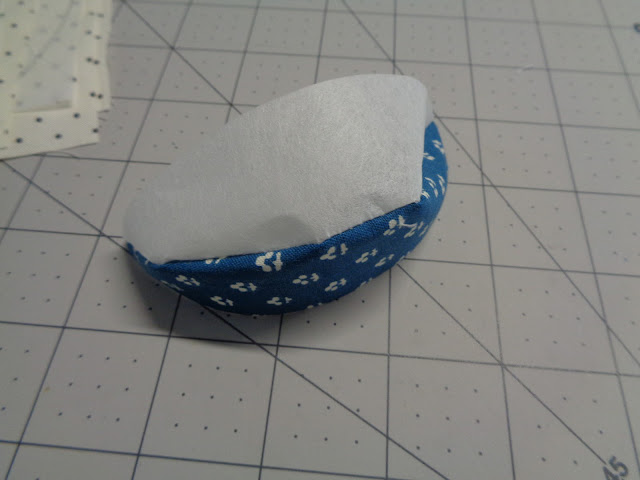
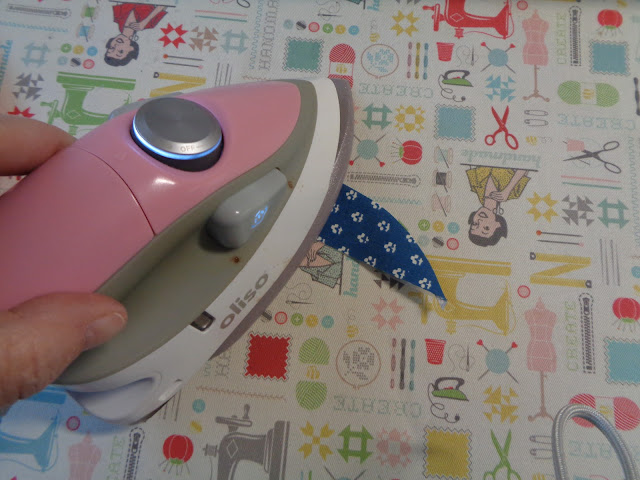
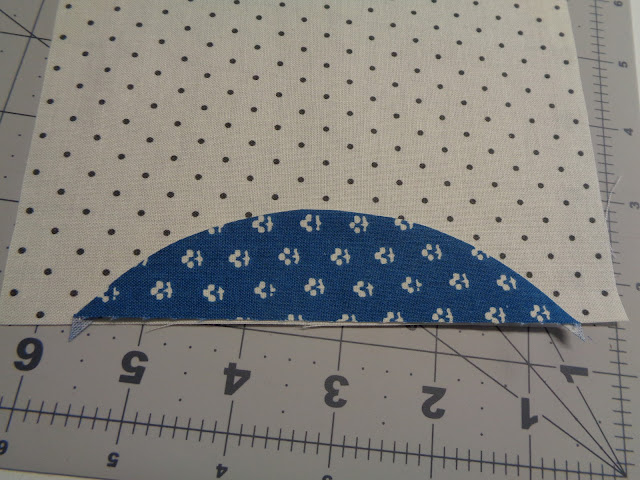
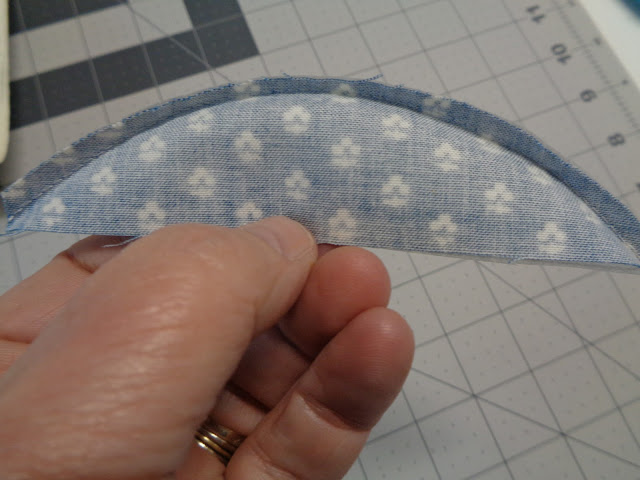
Some fun and easy sewing. I want to have a bunch of fabric strawberries to put in a bowl for decoration. I am making them as I feel like it. Some of these are waiting to have the leaves stitched down. I got this cute shaker sewing box at the Lancaster Quilt Show.


This is made with a vintage fabric that I have very little of and I stuffed it with emery.


Strawberry fabric for a strawberry!


These are much bigger and were from a pattern I got from Fig Tree Quilts. I don't love the leaves but they will do for now.

This pouch is next on my list. Who knows what I will put in it! The directions are not great but I think I can figure it out.


I found this old box that is perfect for next to my sewing machine and holds random things I need from time to time. I think it adds personality to my sewing room. 

It seems like my tastes are changing once again. I think for me the past 2 years made me want homey, cozy things. Don't worry I am not giving up on quilting, just changing lanes a bit.

Kelly


Friday, February 4, 2022

Icy February


First of all I am sorry for the bad pictures, we are in the midst of rain turning to ice later today. 
This was a quilt that did not start out as a Valentine quilt but turned into one!


I was thinking more "Home is where the heart is" But I think the pink made it more Valentineish. Is that even a word?


Picking out just the perfect fabric is a labor of love. Checks are always a "yes" in my book.

The hearts were simple to make, I am sure you can figure them out just by looking at them. I used easy corners at the top and bottom and made the length the size of the house blocks. If you are on Instagram I did a tutorial, go check it out!


These darling school house blocks are paper pieced and are in the current  issue of American Patchwork & Quilting if you are so inclined to make some. The pattern is called Close To Home.


Again I love searching for just the right fabric!


The houses sew up quickly and if you look closely I made a mistake in the upper right hand block. I accidently sewed the section on upside down. It was not hard to fix and way better than having to make an entire new block!


I did some random straight line quilting because this will be a wall hanging and it makes it nice and sturdy.

I am participating in a doll quilt swap in March.  This is about 18" x 18". Red and green is always a favorite and classic color combination for me.


I was feeling very confident that I would hand quilt this little gem. Well after my attempt at the center I quickly abandoned that idea! It was really awful. So the little squares are machine quilted, at least I tried!

I am still pecking away at this and usually only work on it at my bee. I am in no hurry and always need some handwork now and then.


I always bring these to bee as well. It is the first thing I work on and usually finish with time to work on some of the Robbin Peter to Pay Paul quilt. The blocks are small, they finish at 5".

I have ANOTHER applique project that I would like to start and may give back basting a try. Has anyone done this and have any tips or suggestions for me?

Kelly


Friday, December 31, 2021

Robbing Peter to Pay Paul tutorial


I'm ending the year in the pink! This will be a baby quilt that I hope to finish it this weekend. Sorry the pictures are so dark, it is a gloomy day here.


I love this background print that is from a collection called Grace from MODA and the designer is Benda Riddle. I thought it was so sweet and very girly. I got it at the Old Country Store in Intercourse PA.


To continue with my pink theme I am doing some school house blocks. This is a pattern I have always wanted to do. It is in the latest issue of American Patchwork & Quilting, they have a paper piece pattern to make these. If you look at the one in the top right, you can see a mistake......sometimes that happens!


So this is the pattern, Robbing Peter to Pay Paul. This is the pattern on point. I am seriously thinking of going this route. Do you see the blue as the main background color or do you see the white?


This is a straight set, a nice pattern and I may make another to use this setting.


This is 4 blocks sewn together in the straight set. You will need to make 2 in the opposite color way. 


Same blocks turned on an angle or on point. If you make this setting, you will need to make half blocks to fill in. I will show you those once I get to that point.


To make this block you can look for a pattern or you can make your own, which is what I did. My backgrounds (the white in this block) were cut into  6 1/2" squares. For the slices (the blue fabric) mine are 4 3/4" long and at the middle they measure 1 1/8" high. Play around on paper until you get something you like or buy a pattern.


So I decided to do an easy applique technique. I made a template of the "slice" piece and traced it on some interfacing.


Next I cut out my fabric a smidge larger than the interfacing and sewed them, right sides together. Don't forget you need some that are blue and some that are white. Trim the excess fabric. This is a very gentle curve and easy to sew.
 

It will look like this. Remember to add a seam allowance at the bottom. Notice I only sewed the curve.


Carefully turn, using a turning tool if necessary to smooth the curve. Be careful not to poke through the interfacing. I run my tool on the fabric edge.


Press until it is flat.

You will need 4 for each block. Center it along the edge with raw edges together. I put 2 tiny dots of glue on the interfacing, to hold it in place. I plan on taking these to my bee, so I don't want to worry about them moving.


I also trimmed the seam allowance pretty thin to reduce bulk.


Take the time to make that curved edge nice and smooth so you get a nice edge on your piece. Remember this is your "finished" piece. It will only look as good as you sew it. If you go off the curve and there is a dent, re-do it or it will drive you crazy! It will also throw off the pattern.


Applique as desired along the curved edge, I am doing mine by hand but you could absolutely do it by machine. Once the block is done, I cut away both the interfacing and the background fabric to reduce bulk. It made for a nice flat block. I recommend leaving a 1/4" seam allowance.


This is the interfacing I used and I love it! It is not too thin, so it tears easily and it is not too thick that it is bulky. As Goldilocks would say it was just right!
This technique made these blocks go so fast because the edge is already turned under. I hope you will give this a try and if you do, let me know!


Today is a special day for our family. My oldest grandson, Griffin turns 17! He is such a good kid and all the little kids in the family just love him. He also very tall, 6 feet 6" and counting! He is our gentle giant and a joy to be around. I am excited to see what the world will hold for him in the future. He has one of those personalities that gets along with everyone. Happy birthday Griff!

This is for Quayquilter. I got your response to my post but could not answer. 

The quilt is called Friendship Circle: A Sampler Quilt. In case you couldn't tell the blocks finish at (I think) 5". So some of the pieces are small but I didn't find them too hard. I bought this as a kit at a quilt show so the fabrics were included. If you go to her web site I think she has kits for some of her patterns. Have fun and thanks for stopping by!

I wish you all a very Happy New Year and let's hope it is better than the past 2 years, we all need a break!

Kelly